
Here in this blog, we will be guiding you through how to build a contemporary login and registration form using HTML and CSS. Great for beginners looking to learn about form design or developers seeking a clean, responsive template.
1. Project Setup
First, create a new folder for your project with two files:
-
index.html(for HTML structure) -
style.css(for styling)
<!DOCTYPE html>
<html lang="en">
<head>
    <meta charset="UTF-8">
    <meta name="viewport" content="width=device-width, initial-scale=1.0">
    <title>Login & Registration Form</title>
    <link rel="stylesheet" href="style.css">
</head>
<body>
    <!-- We'll add forms here -->
</body>
</html>
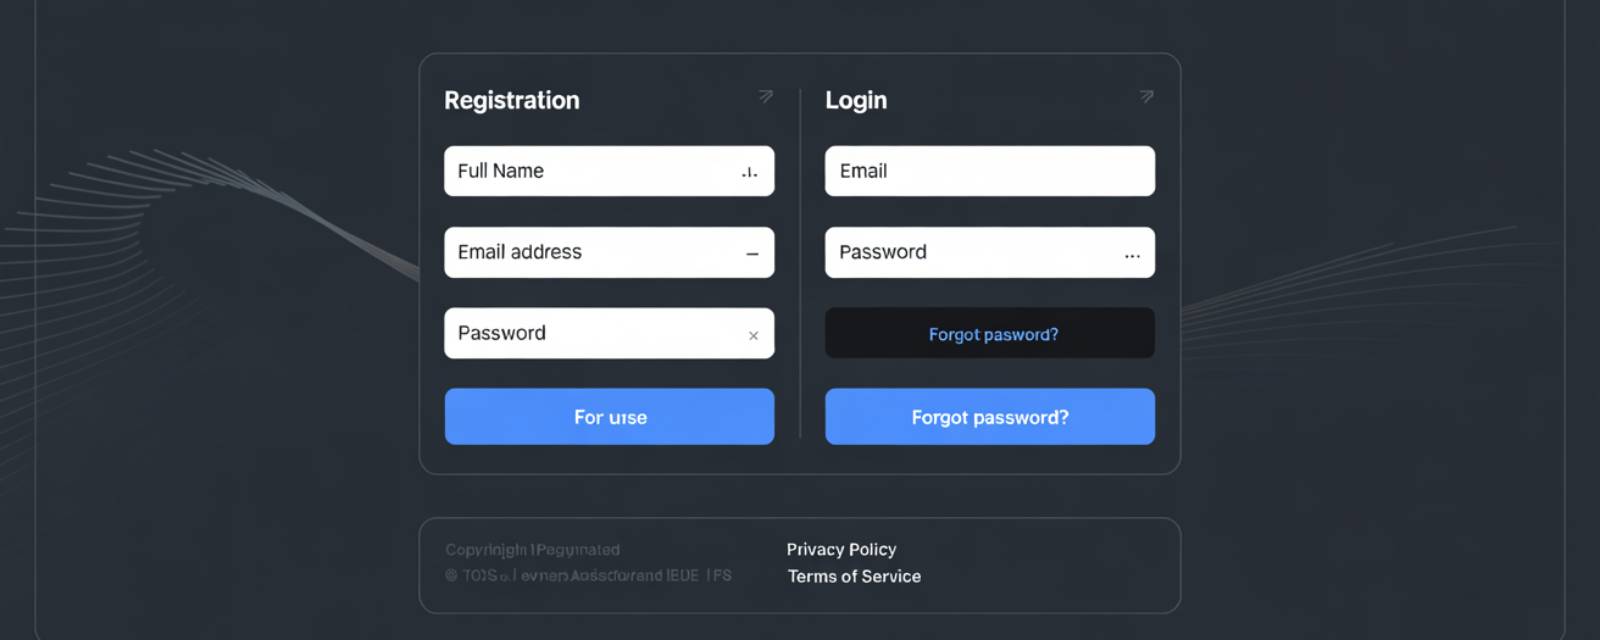
2. HTML Structure (Login & Registration Forms)
We'll create a container that holds both forms and allows switching between them.
Login Form
<div class="container">
    <div class="form-container">
        <!-- Login Form -->
        <form class="login-form">
            <h2>Login</h2>
            <div class="input-group">
                <input type="email" placeholder="Email" required>
            </div>
            <div class="input-group">
                <input type="password" placeholder="Password" required>
            </div>
            <button type="submit">Login</button>
            <p class="toggle-form">Don't have an account? <a href="#" id="show-register">Register</a></p>
        </form>

        <!-- Registration Form -->
        <form class="register-form hidden">
            <h2>Register</h2>
            <div class="input-group">
                <input type="text" placeholder="Full Name" required>
            </div>
            <div class="input-group">
                <input type="email" placeholder="Email" required>
            </div>
            <div class="input-group">
                <input type="password" placeholder="Password" required>
            </div>
            <button type="submit">Register</button>
            <p class="toggle-form">Already have an account? <a href="#" id="show-login">Login</a></p>
        </form>
    </div>
</div>
3. CSS Styling (Modern & Responsive)
Now, let’s style the forms with CSS Flexbox for a clean layout.
/* style.css */
* {
    margin: 0;
    padding: 0;
    box-sizing: border-box;
    font-family: 'Arial', sans-serif;
}

body {
    background: #f5f5f5;
    display: flex;
    justify-content: center;
    align-items: center;
    min-height: 100vh;
}

.container {
    width: 100%;
    max-width: 400px;
    background: #fff;
    border-radius: 10px;
    box-shadow: 0 0 20px rgba(0, 0, 0, 0.1);
    padding: 30px;
}

.form-container {
    position: relative;
    width: 100%;
}

.login-form, .register-form {
    transition: all 0.3s ease;
}

.hidden {
    display: none;
}

h2 {
    text-align: center;
    margin-bottom: 20px;
    color: #333;
}

.input-group {
    margin-bottom: 15px;
}

input {
    width: 100%;
    padding: 12px;
    border: 1px solid #ddd;
    border-radius: 5px;
    outline: none;
    transition: border 0.3s;
}

input:focus {
    border-color: #eb5c17;
}

button {
    width: 100%;
    padding: 12px;
    background: #eb5c17;
    color: white;
    border: none;
    border-radius: 5px;
    cursor: pointer;
    font-weight: bold;
    transition: background 0.3s;
}

button:hover {
    background: #d35400;
}

.toggle-form {
    text-align: center;
    margin-top: 15px;
    color: #666;
}

.toggle-form a {
    color: #eb5c17;
    text-decoration: none;
    font-weight: bold;
}

.toggle-form a:hover {
    text-decoration: underline;
}
4. Toggle Between Login & Register Forms
We'll use JavaScript to switch between forms when clicking "Register" or "Login."
<script>
    document.getElementById("show-register").addEventListener("click", function(e) {
        e.preventDefault();
        document.querySelector(".login-form").classList.add("hidden");
        document.querySelector(".register-form").classList.remove("hidden");
    });

    document.getElementById("show-login").addEventListener("click", function(e) {
        e.preventDefault();
        document.querySelector(".register-form").classList.add("hidden");
        document.querySelector(".login-form").classList.remove("hidden");
    });
</script>
Login to leave a comment.