Visual Studio Code (VS Code) is a lightweight, powerful code editor developed by Microsoft, widely used for software development. It supports numerous programming languages and offers extensive features, including debugging, extensions, and version control integration. This guide will walk you through the process of installing VS Code on your system.
Download Visual Studio Code
1. Open your browser and visit the official Visual Studio Code website.
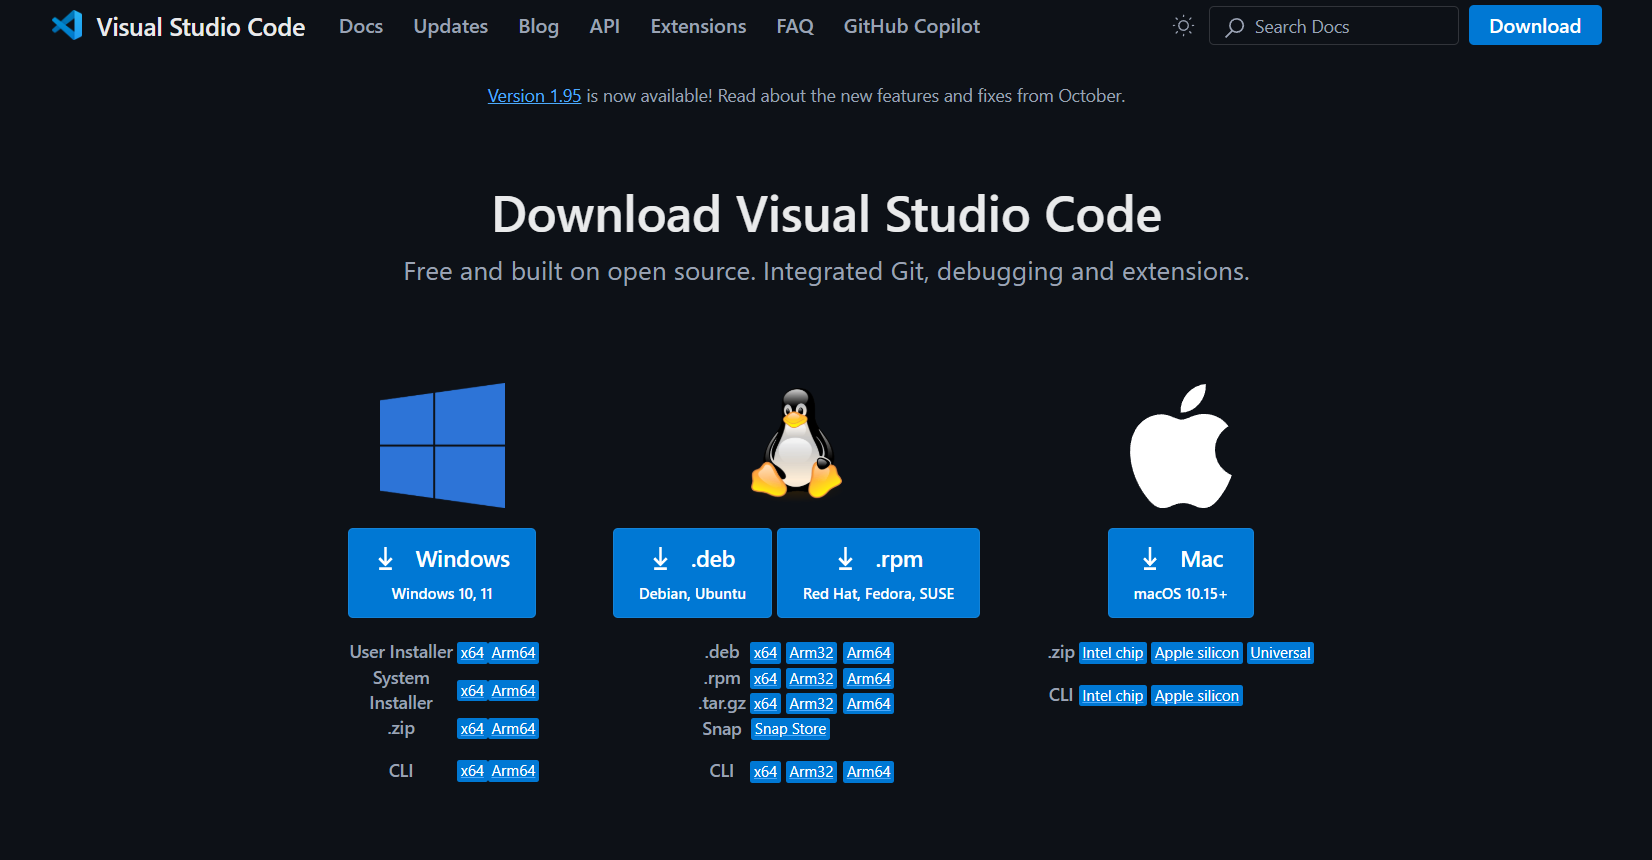
Select your specific operating system manually:
- Windows
- macOS
- Linux
Installing Visual Studio Code
Run the Installer
Go to the downloaded.exe file (e.g., VSCodeSetup-x64-<version>.exe) and double-click to start the installation process.
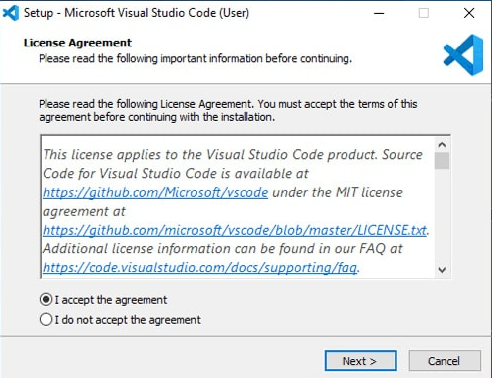
Agree to the License Agreement
Read and accept the license agreement, then click Next.
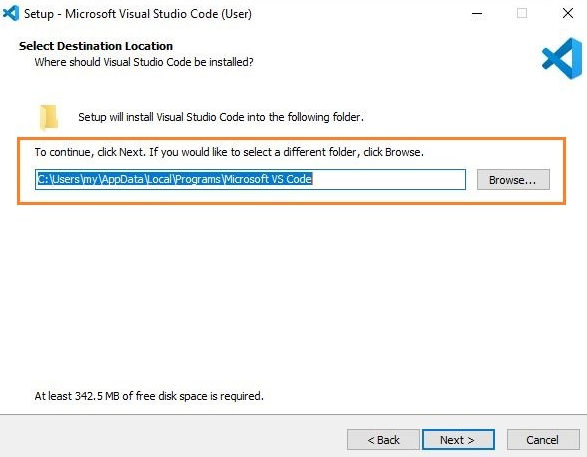
Choose Installation Location
Select the directory where you want to install VS Code or leave it as the default, then click Next.
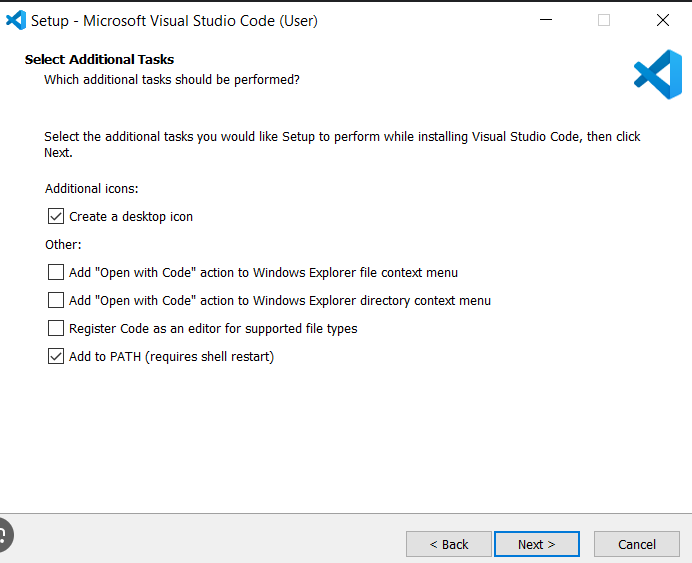
Select Additional tasks
- Check Add to Path
- Optionally, select Create a desktop icon and other preferences.
Install
Click Install, and the setup will complete in a few moments. Once done, click Finish to launch VS Code.
First Launch and Configuration
Open Visual Studio Code.
- On Windows or macOS, double-click the application icon.
- On Linux, type code in your terminal or open it from the application menu.
Customize your setup by installing extensions:
- Click on the Extensions View icon on the sidebar (or press Ctrl + Shift + X / Cmd + Shift + X).
- Search for popular extensions like Prettier, ESLint, or Python, and lick Install.
Configure Settings:
- Open the Command Palette (Ctrl + Shift + P / Cmd + Shift + P) and search for Preferences: Open Settings to tweak the editor to your liking.
Conclusion
Congratulations! You have successfully installed Visual Studio Code on your system. It’s a versatile code editor designed for productivity and flexibilit.
Login to leave a comment.