
Ionic is a powerful framework for building cross-platform mobile applications using web technologies like HTML, CSS, and JavaScript.
Download and Install Node.js
- Visit the Node.js official website.
- Download the LTS (Long-Term Support) version.
- Install Node.js using the installer. This will also install npm automatically.
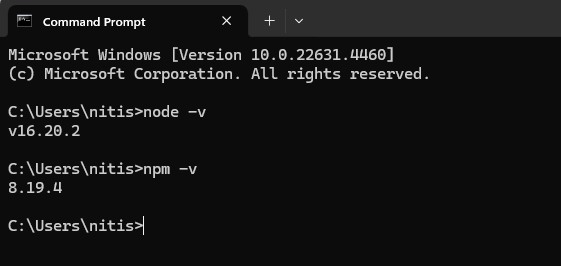
Verify Installation
Open a terminal or command prompt and run the following command:
node -v
npm -v
Install the Ionic CLI
The Ionic CLI is a command-line tool for creating and managing Ionic projects:
-
Install Ionic CLI
npm install -g @ionic/cli
2. Verify Installation
Open a terminal and verify Ionic is installed successfully. Run the following command:
ionic --version

Create a New Ionic Project
When Ionic is installed successfully, you can create an Ionic project.
1. Create a Project
for creating an Ionic new project. Run the following command in the command prompt.
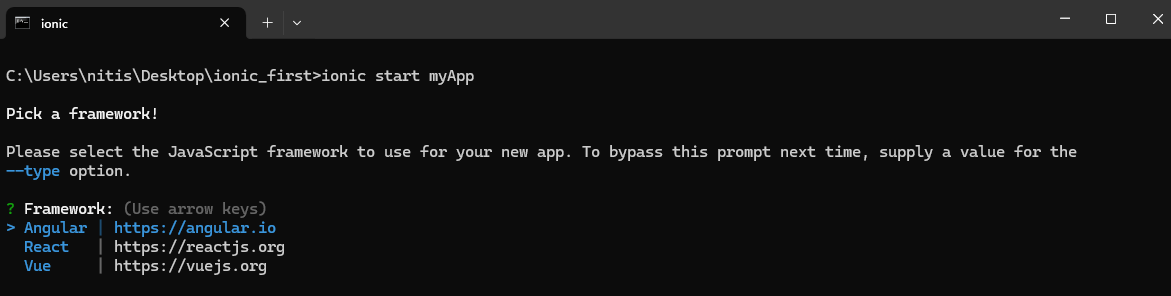
Now select framework. I have selected the Angular framework.

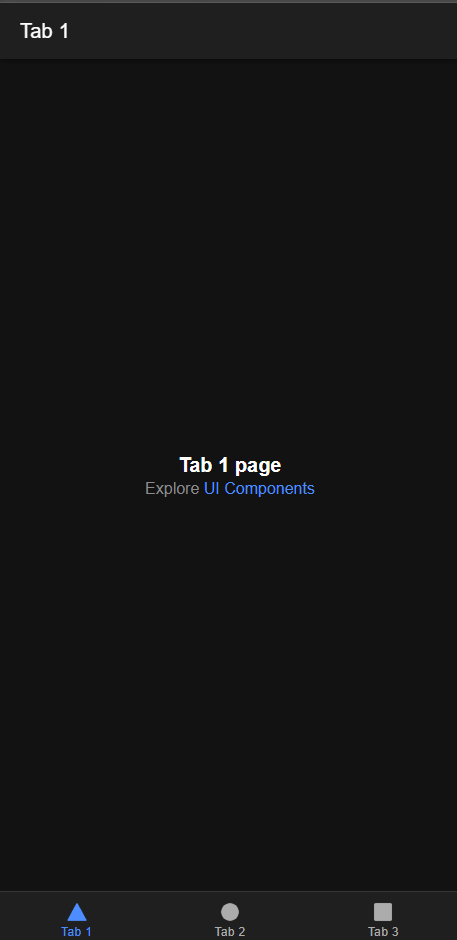
Tabs is the starter template; you can also choose form blank, sidemenu, or other templates.

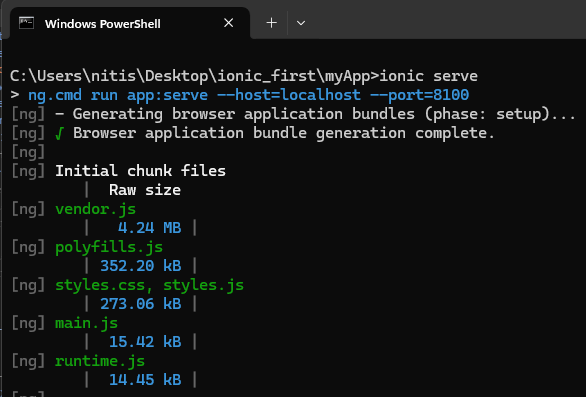
2. Navigate to the Project Directory
cd myApp
3. Run the Application
Start a local development server with live reload.
ionic server
Add a Platform
To build the app for iOS or Android, you need to add the appropriate platform using capacitor.
1. Add a platfrom
ionic capacitor add android
ionic capacitor add ios
2. Build the App
ionic build
3. Open the project in IDEs.
For Android, open the project in Android Studio:
ionic capacitor open android
For iOS, open the project the Xcode:
ionic capacitor open ios
Conclusion
Installing Ionic is straightforward, and with its powerful tools, you can quickly build beautiful cross-platform apps.
Login to leave a comment.